To fix a car yourself, start by diagnosing the problem rather than guessing: write down the symptoms, check the basics (fluids, tires, battery, and warning lights), read any trouble codes with an OBD-II scanner, confirm the cause with simple tests, and only then repair it using the correct parts, tools, and your vehicle’s repair manual. Beginners can safely handle many maintenance jobs and simple repairs, but brakes, airbags, high-voltage hybrid or EV systems, and major engine work are best left to a professional unless you have the training.
This guide gives you a repeatable, diagnosis-first process that saves money and stops you from replacing parts you did not need.
Safety First: Before You Touch Anything
- Park on level ground, set the parking brake, and put the car in Park (or in gear for a manual).
- Wear safety glasses and gloves, and remove rings and watches around the battery.
- Let the engine cool. Never open a hot radiator or coolant cap.
- Never work under a car supported only by a jack. Use rated jack stands on solid points and chock the wheels.
- Disconnect the negative battery terminal before electrical work.
Step 1: Describe the Problem Precisely
Good repairs start with good notes. Write down exactly what happens, when it happens (cold start, highway speed, turning, braking), any noises or smells, and which warning lights are on. “Squeal from the front when braking, worse in the morning” points you to a far smaller list of causes than “it makes a noise.”
Step 2: Check the Basics
Many problems are simple. Before anything else, check:
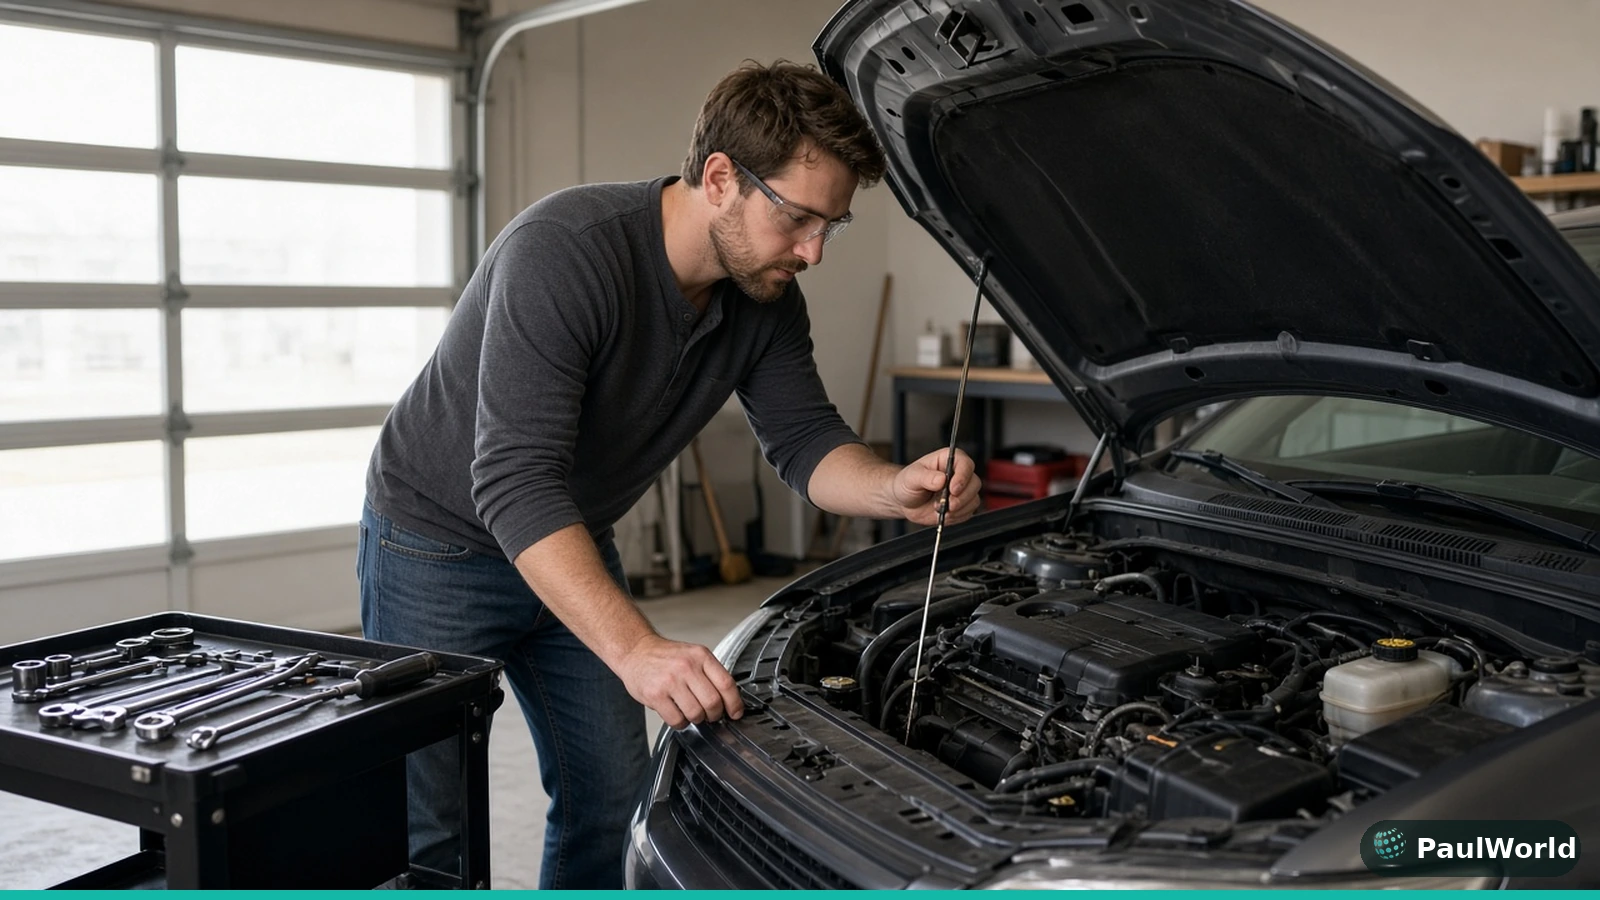
- Fluids: engine oil, coolant, brake fluid, power steering fluid (if equipped), and transmission fluid where there is a dipstick. Look for leaks under the car.
- Tires: pressure and tread, which affect handling, braking, and some warning lights.
- Battery: clean, tight terminals. A multimeter reading of about 12.6 volts with the engine off is typical of a fully charged battery; noticeably lower suggests it needs charging or testing.
- Fuses: if one specific accessory has stopped working, check its fuse first.
Step 3: Read the Trouble Codes
Every car sold in the U.S. since the 1996 model year has an OBD-II port, usually under the dashboard on the driver’s side. Plug in an inexpensive code reader, turn the ignition on, and read the stored codes. Write them down along with any freeze-frame data, which shows the conditions when the fault occurred.
Remember that a code tells you which circuit or system detected a problem, not which part to buy. A code for an oxygen sensor circuit, for example, can be caused by wiring, a connector, an exhaust leak, or the sensor itself. Do not clear codes until you have fixed the cause.
Step 4: Confirm the Cause Before Buying Parts
Research the code or symptom for your exact year, make, model, and engine. Use a repair manual or service information for test procedures and specifications. Then confirm the cause with a simple test, such as:
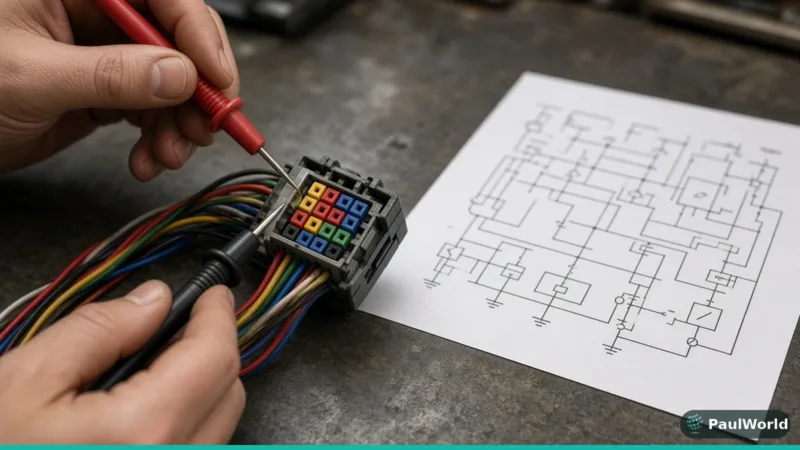
- Checking for voltage or ground at a connector with a multimeter.
- Inspecting hoses for cracks and connectors for corrosion.
- Swapping identical parts (like ignition coils) between cylinders to see if a misfire moves.
Electrical faults are much easier to solve if you can follow the circuit on paper. Our guide on how to read automotive wiring diagrams shows you how.
Step 5: Decide: DIY or Mechanic?
| Good beginner jobs | Intermediate (with a manual and the right tools) | Leave to a professional |
|---|---|---|
| Oil and filter change, engine and cabin air filters, wiper blades, bulbs, battery replacement, fuses, topping off fluids | Brake pads and rotors, spark plugs and ignition coils, serpentine belt, thermostat, simple sensor replacement | Airbags and SRS, high-voltage hybrid/EV systems, A/C refrigerant work (EPA certification required), internal engine and transmission repair |
If a mistake could affect your ability to stop or steer, be honest about your skill level. Brake work is very doable, but only if you follow the procedure exactly and torque everything to spec.
Step 6: Gather the Right Tools and Parts
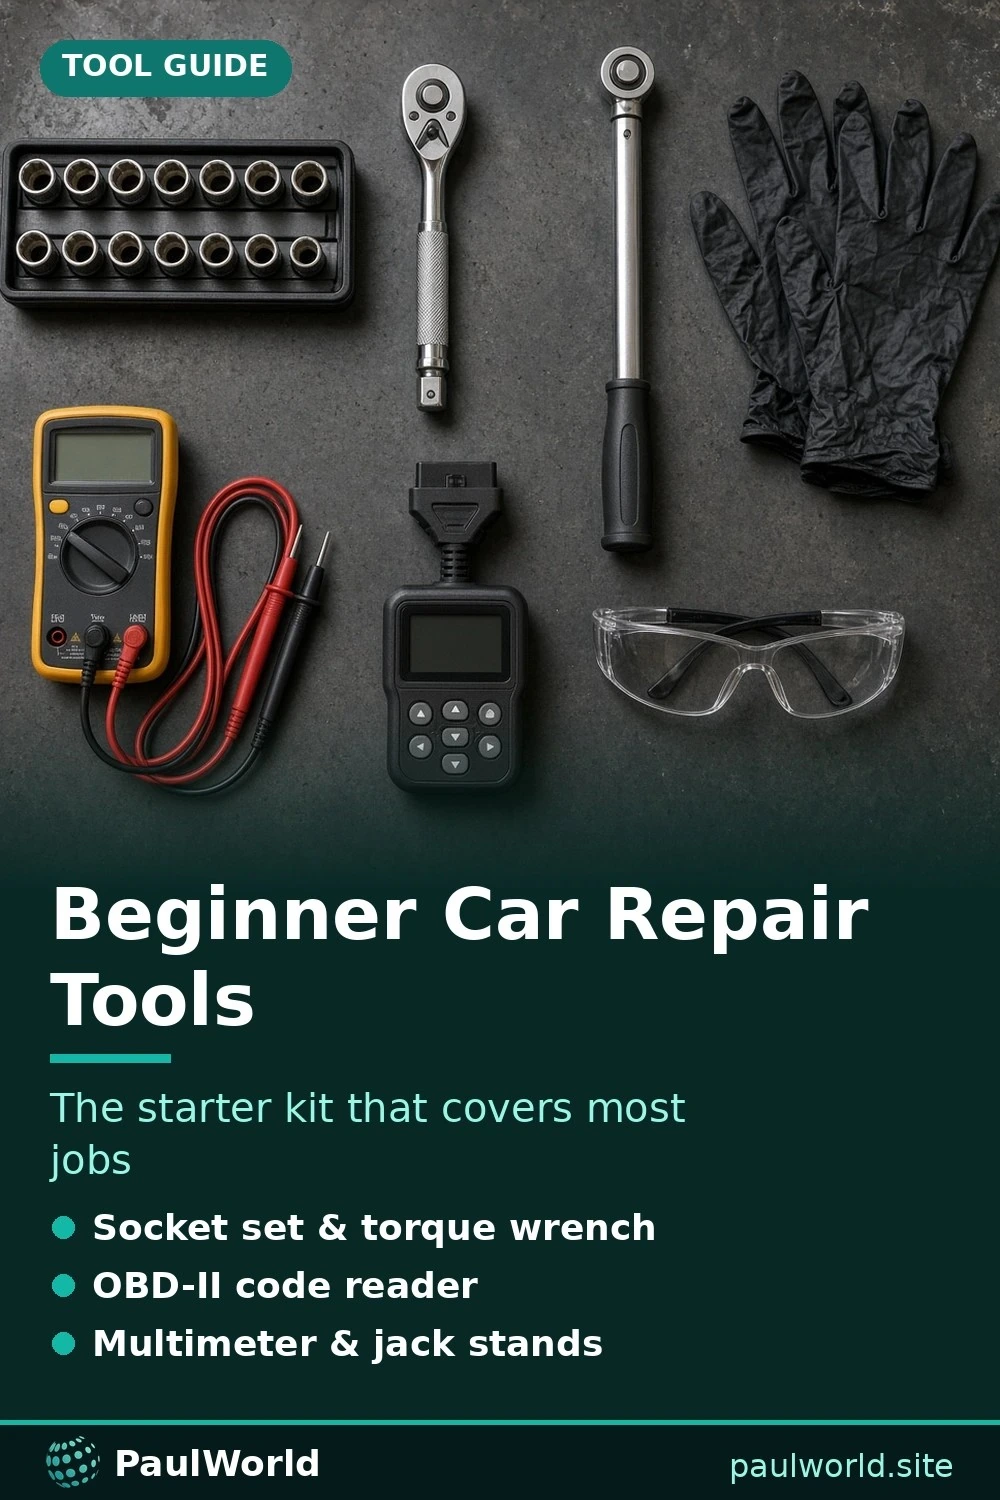
A basic starter kit covers most beginner jobs:
- Socket set with ratchet and extensions (metric for most modern cars)
- Combination wrenches and screwdrivers
- Torque wrench
- Floor jack, jack stands, and wheel chocks
- OBD-II code reader and a digital multimeter
- Drain pan, funnel, gloves, safety glasses, and a work light
Buy parts that match your VIN or exact vehicle details, and get the specified fluids (oil grade, coolant type, brake fluid type) listed in your owner’s manual.
Step 7: Do the Repair and Verify the Fix
- Follow the repair manual step by step and take photos before you disconnect anything.
- Keep bolts organized and torque them to the listed specifications.
- Reconnect the battery, start the car, and check for leaks or warning lights.
- Clear the codes only after the repair, then test-drive under the same conditions that caused the problem.
- Rescan for codes after the drive to make sure the fault did not return.
Dispose of used oil, coolant, and batteries properly. Most auto parts stores and local recycling centers accept them.
Where to Learn More
Every repair you finish makes the next one easier. To build your knowledge in order, follow our roadmap on how to learn about cars, and if you want to understand why parts fail, start with how cars work. If you find you love the work, our guide on how to become a mechanic explains how to turn it into a career.
Symptom Translator: What Your Car Is Telling You
Most repairs start with a symptom, not a part. Use this table to narrow the possibilities before you pick up a wrench.
| Symptom | Common causes to check first | Beginner-friendly? |
|---|---|---|
| Clicking but no crank | Weak battery, corroded terminals, poor ground | Yes: clean terminals and test the battery |
| Cranks but will not start | Fuel delivery, ignition, or security system issue | Partly: read codes, check fuses |
| Squealing when braking | Worn pads hitting their wear indicators | Yes, with jack stands and care |
| Grinding when braking | Pads worn to metal, rotor damage | Repair soon; inspect immediately |
| Sweet smell or steam | Coolant leak | Check level cold; find the leak |
| Check-engine light, car drives fine | Loose gas cap, sensor fault, emissions issue | Yes: read the code first |
| Flashing check-engine light | Active misfire that can damage the catalytic converter | Reduce driving; diagnose promptly |
Pro tip: Write down when the symptom happens: cold or hot, at idle or on the highway, turning or straight. A mechanic, or you, will diagnose much faster with those details.
Your First Repairs, From Easiest to Harder
Build confidence on low-risk jobs before you move to work where a mistake costs money or safety.
- Level 1 (no lifting): Wiper blades, engine and cabin air filters, bulbs, fuses, and topping up fluids.
- Level 2 (basic tools): Battery replacement, cleaning terminals, spark plugs on easy-access engines, and the serpentine belt.
- Level 3 (lifting the car safely): Oil and filter changes, brake pads and rotors, and tire rotation.
- Level 4 (diagnostics): Sensors such as oxygen sensors, a thermostat, a starter, or an alternator, after you confirm the fault.
Jobs to Leave to a Professional
- Anything involving airbags or seatbelt pretensioners
- High-voltage hybrid or EV components, usually marked with orange cables
- Air-conditioning refrigerant work, which requires EPA certification
- Internal engine or transmission repair
- Spring compression on suspension struts unless you buy a complete ready-to-install assembly
Common mistake: Trusting the jack. A jack is for lifting only. Always support the car on rated jack stands on level, solid ground before any part of your body goes underneath.
Common mistake: Replacing the part named in a trouble code without testing. A code describes a symptom the computer saw. An oxygen sensor code, for example, can be caused by a vacuum leak.
Reference: NHTSA vehicle recall lookup (check for open recalls before paying for a repair)
Frequently Asked Questions
Can I fix my own car with no experience?
Yes, if you start with simple maintenance such as oil changes, filters, bulbs, and wiper blades, and work up from there. Use a repair manual for your exact vehicle and never skip the safety steps.
What is the first thing to check when a car won't start?
Start with the battery. Check that the terminals are clean and tight and measure the voltage. If the dash lights are dim or the engine cranks slowly, a weak battery or poor connection is the most common cause.
Is it worth buying an OBD-II scanner?
For most car owners, yes. A basic code reader is inexpensive and lets you see why the check engine light is on before you decide whether to repair it yourself or visit a shop.
When should I take my car to a mechanic instead?
Go to a professional for airbag, high-voltage, or A/C refrigerant work, internal engine or transmission problems, or any time you cannot confirm the cause or are unsure about a safety-critical repair.
Can I fix a dead car battery myself?
Often, yes. Clean and tighten the terminals, then jump-start or charge the battery. If it will not hold a charge, have it tested (many parts stores test for free) and replace it if it fails. If the car keeps draining good batteries, suspect the charging system or a parasitic drain.
Will doing my own repairs void my warranty?
In the US, a warranty generally cannot be voided simply because you did maintenance yourself. Keep receipts and use parts and fluids that meet the specs in your owner’s manual. Damage caused by an incorrect repair may still not be covered.
Bottom Line
Fixing a car yourself is mostly about process: describe the symptom, check the basics, read the codes, confirm the cause, and then repair and verify. Start small, stay safe, and your skills and savings will grow with every job.
Categories
Tags