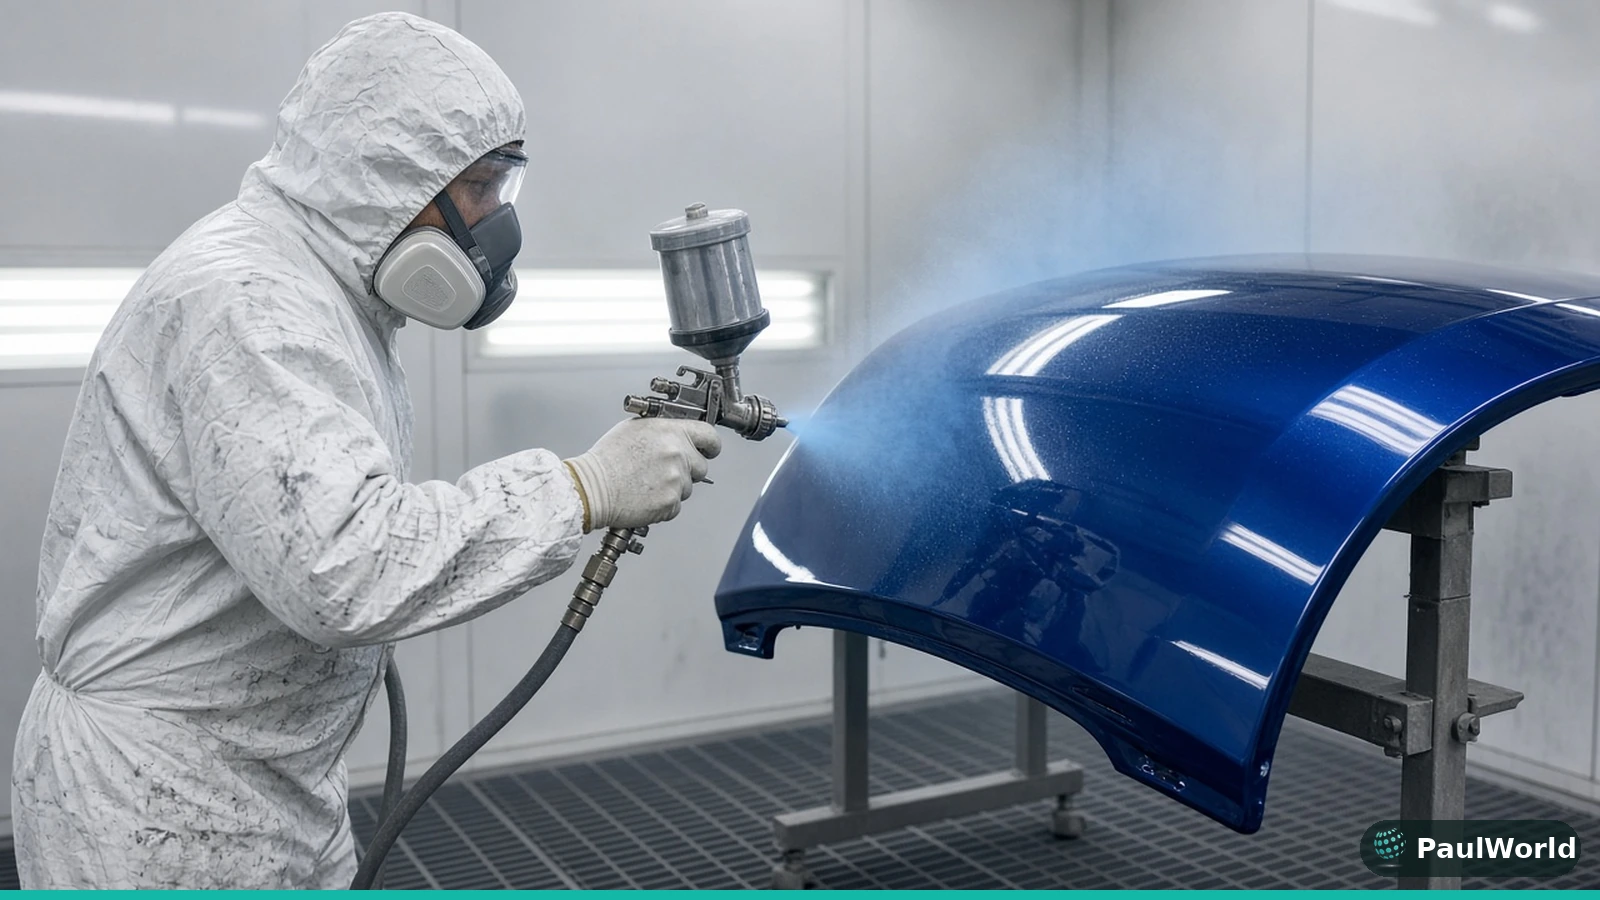
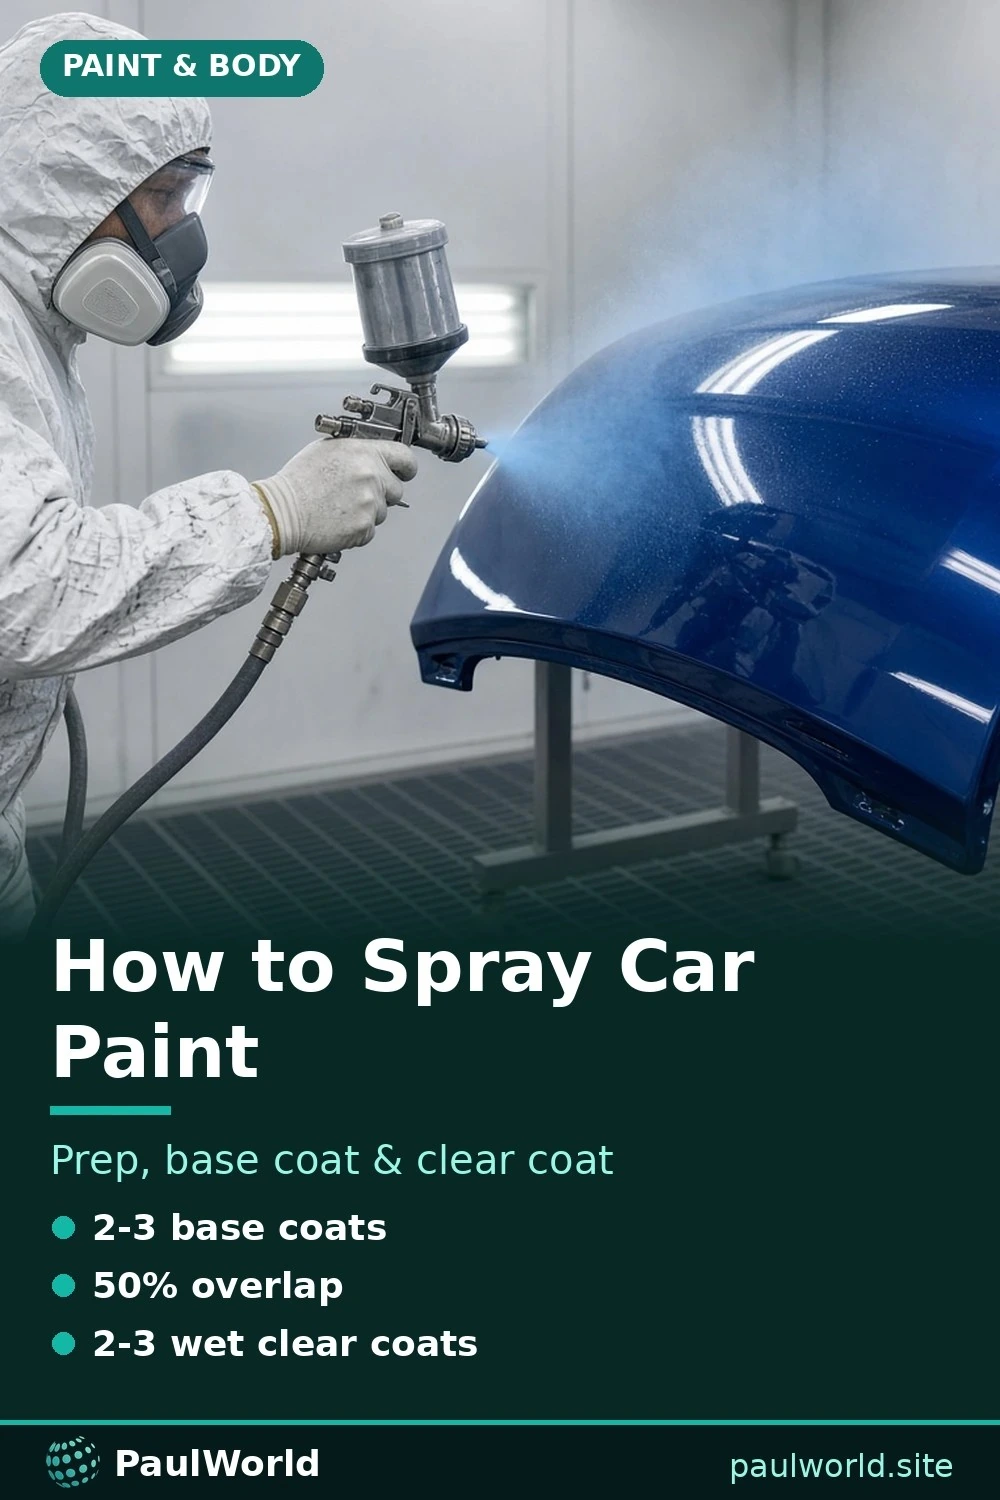
To spray automotive paint, prep the surface first (repair, sand, prime, and clean it), mask everything you don’t want painted, set up an HVLP spray gun to the paint maker’s specifications, then apply two to three medium-wet base coats with about 50 percent overlap, letting each coat flash off, and finish with two to three wet coats of clear. Prep and patience matter more than the gun: most paint defects come from poor sanding, contamination, or rushing flash times.
This guide covers the full process, including what grit sandpaper to use for each stage and how to paint automotive plastic parts so the finish doesn’t peel.
Safety and Workspace
Automotive paints, especially two-component (2K) clear coats with isocyanate hardeners, are hazardous to breathe. Wear a properly fitted respirator rated for the products you use (many shops use supplied-air systems for 2K materials), plus nitrile gloves, eye protection, and a paint suit. Spray only in a well-ventilated, dust-controlled area, keep ignition sources away, and check local rules about spraying at home. Always read the product’s technical data sheet (TDS) and safety data sheet (SDS).
What You Need
- HVLP gravity-feed spray gun (a 1.3 to 1.4 mm tip is common for base and clear; primer often uses a larger tip)
- Air compressor with enough volume for your gun, plus a water separator and air filter
- Sandpaper in several grits, a sanding block, and a DA (dual-action) sander if available
- Wax and grease remover, tack cloths, and lint-free wipes
- Masking tape and masking paper or plastic
- Primer (epoxy or etch for bare metal, urethane filler primer for leveling), base coat, clear coat, reducers, and hardener as specified
- Mixing cups, strainers, and test panels
What Grit Sandpaper for Automotive Paint?
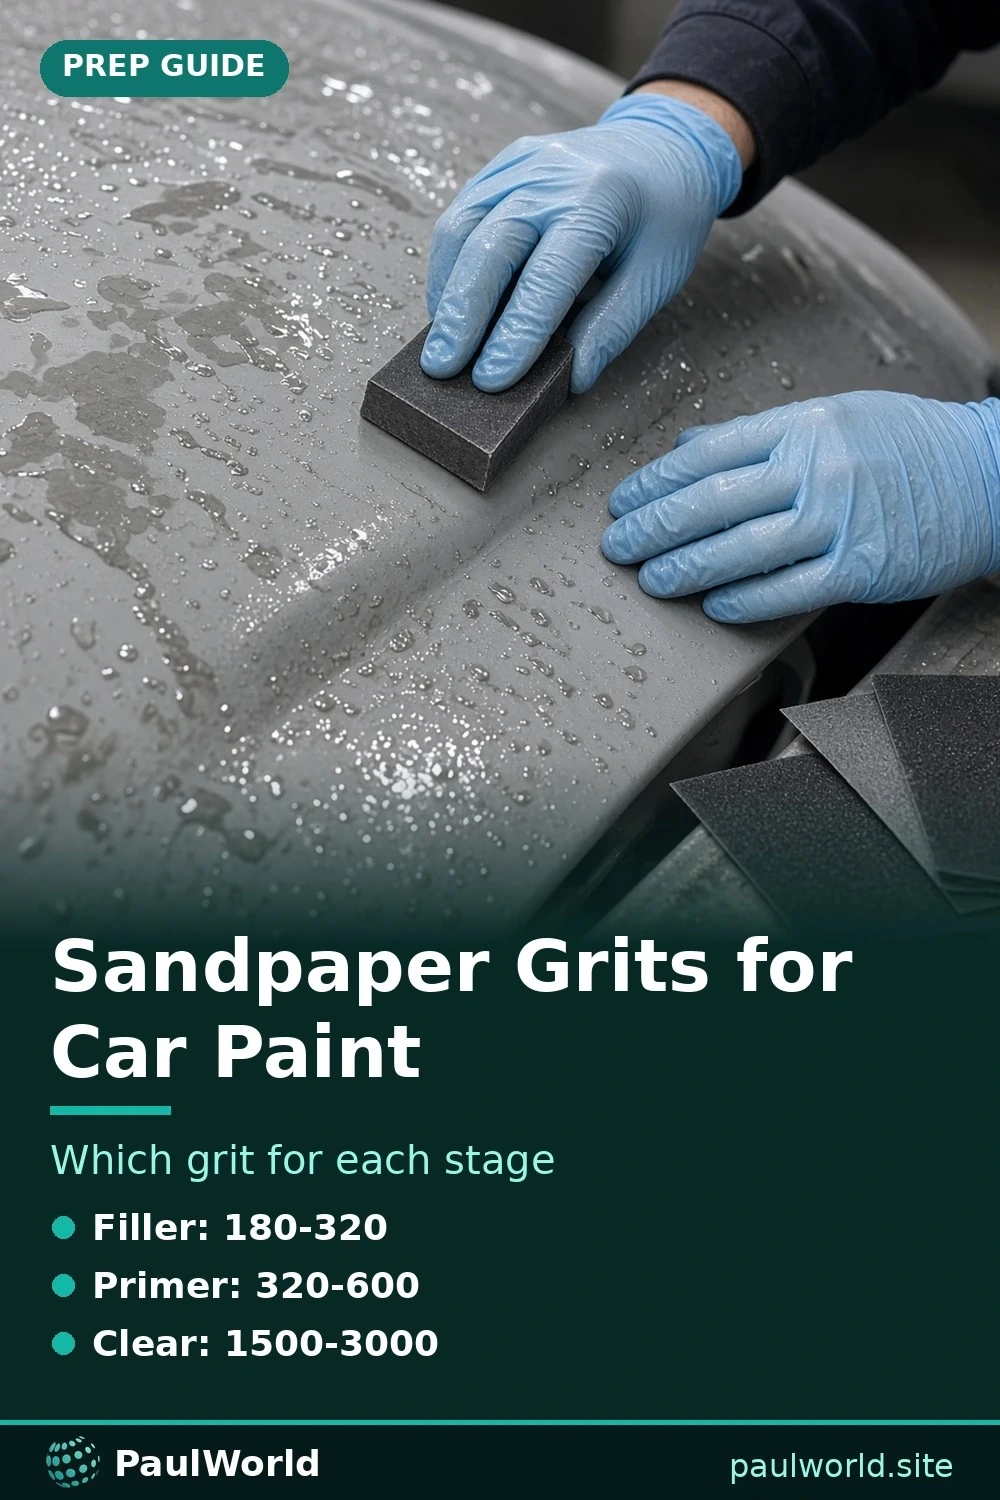
Exact grits vary by product, so follow your paint system’s TDS. A typical progression looks like this:
| Stage | Typical grit |
|---|---|
| Strip paint or shape body filler | 80 to 180 |
| Featheredge repair areas and sand filler smooth | 180 to 320 |
| Block sand filler primer | 320 to 400 (dry) or 400 to 600 (wet) |
| Final prep before base coat | About 400 to 600 for solid colors; many painters go finer (600 to 800) for metallics |
| Scuff existing paint or clear for blending | Gray or ultra-fine scuff pad, or about 800 to 1000 |
| Wet sand clear coat to remove orange peel or dust | 1500 to 3000, then polish |
Coarse scratches left under the base coat will show through, so finish each stage before moving to a finer grit.
Step 1: Prep the Surface
- Wash the panel, then clean it with wax and grease remover.
- Repair dents and apply body filler where needed, and shape it with coarser grits.
- Featheredge the edges of the repair so there is no visible step between paint and metal.
- Prime bare metal with epoxy or etch primer, then apply filler primer over repairs.
- Block sand the primer until the panel is straight and smooth, using a guide coat to show low spots.
- Clean again with wax and grease remover and let it evaporate fully.
Step 2: Mask and Clean
Mask trim, glass, lights, and adjacent panels. Use a reverse or rolled edge on tape lines where you plan to blend so you don’t leave a hard edge. Just before spraying, wipe the panel with a tack cloth, using very light pressure.
Step 3: Set Up the Spray Gun
- Mix the paint exactly as the TDS specifies, then strain it into the gun cup.
- Set the air pressure at the gun inlet as the gun and paint manufacturer recommend; HVLP guns typically run at a lower inlet pressure than conventional guns, often around 25 to 35 psi depending on the model.
- Open the fan control fully, then adjust the fluid knob.
- Spray a test pattern on masking paper. You want an even, cigar-shaped pattern without heavy ends or a heavy center.
Step 4: Spray the Base Coat
Hold the gun perpendicular to the surface at the distance the gun maker recommends (often about 6 to 8 inches for HVLP). Start moving before you pull the trigger, keep a steady speed, and overlap each pass by about half. Apply two to three medium-wet coats, or until the color fully covers, and allow each coat to flash off (turn from glossy to dull) for the time listed on the TDS. With metallic colors, many painters finish with a lighter, slightly farther “control” or drop coat to even out the metallic flake and avoid stripes.
Step 5: Apply the Clear Coat
Once the base has flashed for the recommended time, apply the clear. A common approach is one medium coat followed by one or two full wet coats, with the specified flash time between coats. Clear is where the gloss comes from, so focus on even, wet passes without runs. Let it dry and cure according to the product’s schedule before sanding or polishing.
Step 6: Fix Defects and Polish
After the clear cures, wet sand small dust nibs or orange peel with 1500 to 3000 grit, then machine polish with compound and a finishing polish. Avoid sanding through edges and body lines, where clear is thinnest.
How to Paint Automotive Plastic Parts
Plastic bumpers, mirror covers, and trim need extra steps because paint can’t bite into smooth plastic and the part flexes:
- Clean thoroughly with a plastic-safe cleaner to remove mold release agents.
- Scuff with a gray scuff pad or fine sandpaper (around 400 to 600 grit), then clean again.
- Apply an adhesion promoter made for automotive plastics on raw plastic areas.
- Prime with a flexible primer if the part needs filling.
- Spray base and clear as normal, adding a flex additive to the clear if the paint maker recommends one for flexible parts.
Common Mistakes to Avoid
- Orange peel: often caused by the wrong pressure, holding the gun too far away, or incorrect reduction.
- Runs and sags: too much paint, moving too slowly, or spraying too close.
- Fish eyes: contamination from silicone, oil, or wax. Clean thoroughly and keep air lines clean.
- Solvent pop and dieback: not allowing enough flash time between coats.
Single-Stage vs Basecoat/Clearcoat: Which Should You Spray?
| Single-stage | Basecoat/clearcoat | |
|---|---|---|
| What it is | Color and gloss in one product | Color coat followed by a separate clear protective layer |
| Best for | Solid colors, classics, equipment, budget jobs | Metallics, pearls, most modern factory finishes |
| Difficulty | Simpler, fewer steps | More steps, but the clear is easier to sand and polish |
| Repair matching | Harder to blend on modern cars | Matches modern factory finishes |
If you are matching a modern car’s factory paint, basecoat/clearcoat is almost always the right choice.
Aerosol Cans vs a Spray Gun
Aerosol paint is fine for small parts, scuffs, mirror caps, and trim. For a whole panel or car, a spray gun gives more even coverage and a better finish. If you use cans, two-component (2K) aerosol clear offers much better durability than standard 1K clear, though it contains isocyanates and demands the same respirator protection as gun-applied clear.
Pro tip: Warm aerosol cans in a bucket of warm (not hot) water for a few minutes before spraying. The paint atomizes more finely. Never heat cans over a flame or heater.
Read the Technical Data Sheet Before You Mix Anything
Every automotive paint has a technical data sheet (TDS). It tells you what the label often does not:
- The mixing ratio with reducer, hardener, or activator
- The recommended spray pressure and gun tip size
- Flash time between coats, which shortens in warm weather and lengthens in cold
- The temperature and humidity range for application
- Cure time before you can sand, polish, or reassemble
Mixing products from different systems can cause wrinkling, lifting, or poor adhesion. Stay within one manufacturer’s system where possible.
How to Spray Metallic Paint Without Stripes
Metallic and pearl paints show every inconsistency in your passes as light and dark bands, often called “tiger striping.” To avoid it:
- Keep the same gun distance, speed, and 50 to 75 percent overlap on every pass.
- Spray each coat in the same direction pattern.
- Many painters finish with a lighter orientation or “drop” coat from slightly farther away to even out the metallic flakes. Follow the paint maker’s instructions, as techniques differ by product.
Common mistake: Spraying in cold, humid conditions. Paint can blush (turn cloudy), dry slowly, and trap solvent. Check the temperature range on the TDS before you start.
Reference: OSHA: Isocyanates hazards and protection (relevant to 2K clear coats)
Frequently Asked Questions
How many coats of base and clear should I spray?
Most systems call for two to three base coats, or until full coverage, and two to three coats of clear. Always follow the paint maker’s TDS for the products you use.
Do I need to sand between base coats?
Generally no. Base coats are applied within their flash window and do not need sanding between coats. Sanding is only needed for defects or if the recoat window has passed.
Can I spray automotive paint at home?
It’s possible for small parts or panels, but you need proper ventilation, dust control, a suitable respirator, and attention to local regulations. 2K clear coats are particularly hazardous without the right protection.
What pressure should I spray automotive paint at?
Use the inlet pressure recommended by your spray gun manufacturer and the paint’s TDS. Many HVLP guns are set around 25 to 35 psi at the inlet, but this varies by model.
How do you spray automotive paint on plastic parts?
Clean the part with a plastic-safe cleaner, scuff it, and apply an adhesion promoter made for plastics before primer or color. Flexible parts such as bumper covers may also need a flex additive, depending on the paint system.
Can you spray single-stage paint without clear coat?
Yes. Single-stage paint is designed to provide color and gloss without a clear coat. It is usually applied in two or three coats, and it can be wet-sanded and polished after it fully cures.
Bottom Line
Spraying automotive paint well is mostly preparation and discipline: sand through the correct grits, keep everything clean, set up your gun to spec, and respect flash and cure times. Get those right and the base and clear will lay down smoothly. If you are new to working on cars, start with our roadmap on how to learn about cars, or explore how body and paint skills fit into a career in how to become a mechanic.
Categories
Tags